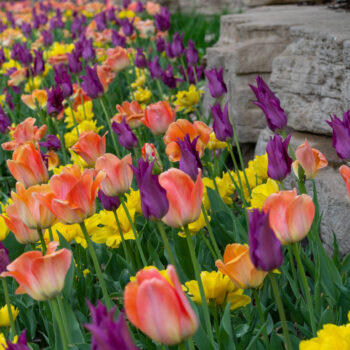
If you want to know how to plant amaryllis bulbs in pots, you’ve come to the right place. Planting an amaryllis bulb in a pot is easy. All you need is a bulb, potting mix, and a container with a drainage hole in the bottom. To protect furniture and windowsills from scratches and water stains, you will also need a saucer, and perhaps a coaster, too.
1. Choose a Pot
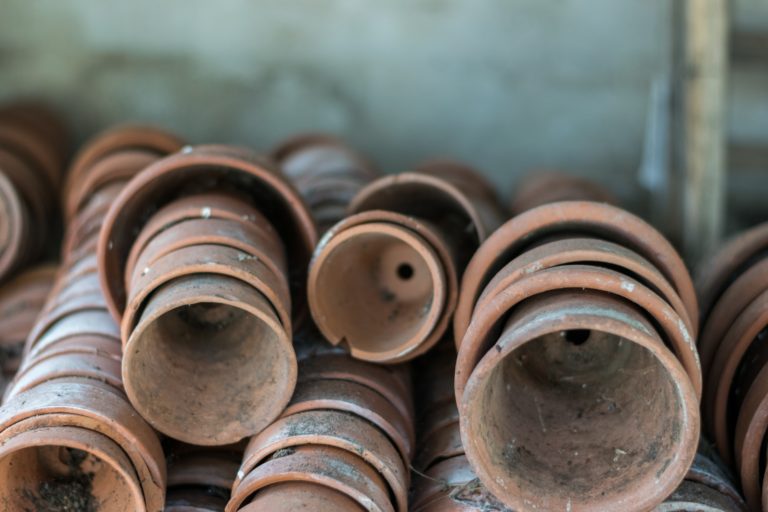
An amaryllis bulb can be planted in almost any container large enough to hold the bulb. Colorblends recommends a pot with a diameter of 7-8”. A clay pot, such as one made of terra cotta, will help to counterbalance the large flowers. A hole in the bottom of the pot is essential. The hole allows excess water to drain out of the container. An amaryllis bulb that sits in constantly wet or soggy potting mix is prone to rot.
Because your container has a drainage hole, you will need to catch the water that passes through it. Many pots are sold with companion saucers. If you have a suitable pot but no saucer, you may be able to purchase one separately (garden centers often carry terra-cotta saucers in a variety of sizes). You can also improvise by, for example, using an old dessert plate.
If your saucer is unglazed — and even if it is — you may need to use a pot coaster to protect the surface on which you place the potted bulb. A coaster is a disc made of an impermeable material — usually plastic — that prevents moisture from seeping through the saucer to the surface below. A coaster can also protect the surface from scratches. Many garden centers and hardware stores sell coasters that have a cork top and a plastic bottom.
2. Choose a Potting Mix
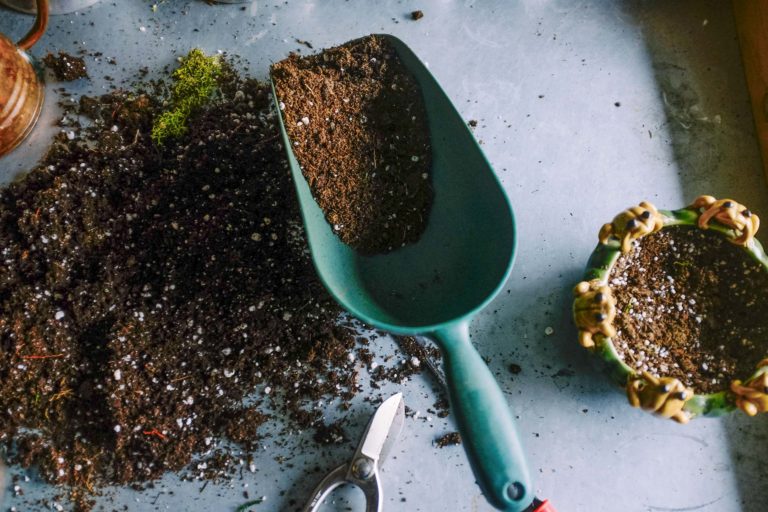
Almost any potting mix you can buy is suitable for use with an amaryllis bulb. A potting mix is sometimes referred to as potting soil, but most potting mixes are soilless: They typically consist only of peat moss, ground tree bark, and perlite (an extremely lightweight material that resembles tiny white pebbles). If you don’t have potting mix on hand, you can buy a bag at any garden center or hardware store.
3. Prepare the Work Area
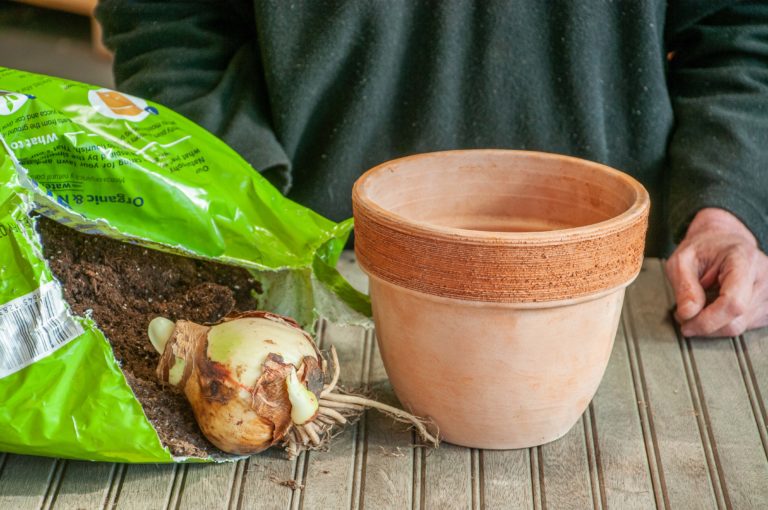
When you pot your amaryllis bulb, you are going to make a mess. There’s no way around it. If the temperature is above freezing, you can pot your bulb outdoors (on a patio table, for example) and then bring it inside. If you pot your bulb indoors, look for a space where you have a large, flat surface — a kitchen counter or table works nicely. Cover the surface with newspapers or an old towel or sheet to make cleanup easy. Then assemble your materials: bulb, pot, and potting mix.
4. Wet the Potting Mix (optional)
When completely dry, peat moss (the primary component of potting mixes) repels water. Most commercial potting mixes contain a wetting agent, but if your mix is dry, it will be slow to accept water after you pot your bulb. To get around this problem, you can wet the potting mix before you use it. Place the amount of mix you think you will need in a plastic tub. Add a small amount of water and stir the mix with your hand. Continue to add water and stir until the mix is evenly moist but not soggy.
5. Pot the Bulb
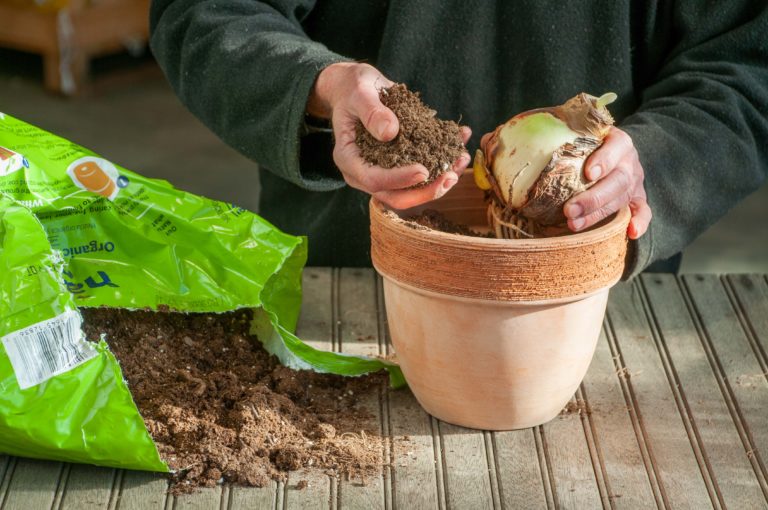
Begin by putting some potting mix in the pot, filling the bottom third or so. Grasp the bulb with one hand and rest your palm on the rim of the pot, suspending the bulb, roots down, over the pot. Your goal is to have the top one-third to one-half of the bulb visible above the potting mix when you are done.
Add potting mix to the pot with your free hand, firming the mix lightly as you go. Continue to add mix below and around the bulb. Stop adding mix when the level of the mix is about one-half to three-quarters of an inch below the rim of the pot. This space between the potting mix and the rim of the pot holds water while it soaks into the potting mix. Finally, press down gently but firmly on the bulb to make sure it is well seated in the potting mix.
6. Water the Bulb
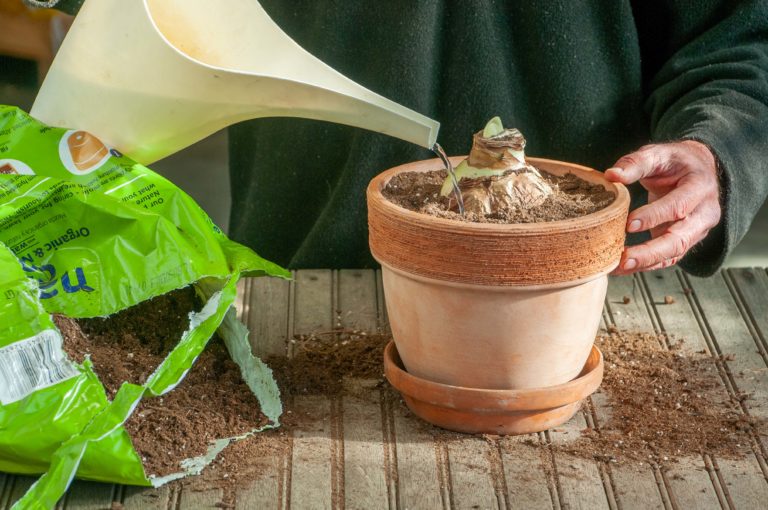
Set the pot in its saucer. Add water around the bulb. Let the water soak in. Continue this process until you see water in the saucer. Wait 5-10 minutes for the pot to finish draining. Then pour out the water that has collected in the saucer, set the pot back in the saucer, and place it — on a coaster, if you have one — in a sunny window. Clean up the mess you made, and you are done!
Note: It can be difficult, especially the first time you water, to estimate how much water the potting mix will absorb. If you add too much water, the saucer will overflow. Solution: Water your bulb in the kitchen sink (without using the saucer). The excess water will depart the drainage hole and go down the drain. Easy, and no risk of a spill.
If you’re looking for more amaryllis resources, check out how to care for a potted amaryllis.

